You decided to bake, opened the recipe, and the very first line says “softened butter” while yours is a cold brick straight from the fridge. I have been there more times than I will admit. The good news is you can soften butter properly in anywhere from two to fifteen minutes depending on the method, and none of them involves the microwave melting one corner into a greasy puddle while the middle stays solid.
The quickest route is to cut the butter small so there is more surface area and less distance to the cold centre. Below are the methods I actually use, ranked by speed, plus the thing most guides skip: what softened butter is supposed to feel like, and why getting that right matters more than you would think for a cake.
Free PDF
Free Oven Temperature & Gas Mark Chart
A printable one-page conversion chart for your kitchen: degrees, fan, gas mark and the descriptions in between. Pop your email in and the PDF is yours, plus the odd straight-talking kitchen tip.
Free, unsubscribe any time. The download starts as soon as you sign up.
What “softened” actually means
Softened butter should sit at around 18 to 20 degrees, which is cool room temperature in most kitchens. The test is simple and worth learning, because it saves you from both ends of the problem. Press the block gently with a finger. It should take the dent and hold it, without your finger sliding straight through to the board. Think the give of modelling clay, not the collapse of melting ice cream. If your finger meets firm resistance, it is still too cold. If it sinks in with no effort and the surface looks glossy or wet, you have gone too far and started to melt it.
That middle state matters because of what softened butter is for. When you cream butter with sugar, you are beating tiny air bubbles into it, and those bubbles are what make a sponge rise light rather than dense. Properly soft butter whips up pale and fluffy and holds that air. Butter that is too cold will not take the air in the first place. Butter that has melted cannot hold it, because the structure that traps the bubbles has broken down, and you get a flat, greasy, heavy bake. So “soft but not melted” is not fussiness; it is the whole point.
The fast methods, ranked by speed
Grate it (about 2 to 3 minutes)
The quickest trick I know. Take the butter cold and firm, straight from the fridge, and run it over the large holes of a box grater. The thin shreds have so much surface area that they come up to temperature in a couple of minutes on the worktop. Scatter them on a plate, leave them while you weigh out everything else, and they will be ready before you are. Cold butter grates far more cleanly than nearly-soft butter, which is the one time being straight from the fridge works in your favour.
Cube it (about 10 to 15 minutes)
The no-faff standby. Cut the butter into small cubes, roughly a centimetre, spread them out on a plate so they are not touching, and leave them. Breaking a block into cubes cuts the softening time to a fraction of what the whole block would take, because the cold core of a solid lump is what takes forever. This is the one I reach for most, because I can do it the moment I decide to bake and then get on with lining tins and heating the oven.
The warm glass trick (about 5 to 10 minutes)
Good if you want the butter to stay in one piece for spreading or for a neat measure. Fill a heatproof glass with very hot water, leave it a minute to warm the glass through, then tip the water out and turn the glass upside down over the butter on a plate. The trapped warmth does the work gently, with no risk of melting. Give it five to ten minutes and lift the glass off to a softened block.
The sealed bag water bath (about 5 minutes)
Slice the butter, seal it in a freezer bag with the air pushed out, and submerge the bag in a bowl of lukewarm water, not hot. Water transfers heat far faster than air, so this is quick, and the bag keeps the butter dry. Keep the water lukewarm rather than hot; too warm and you will melt the edges before the middle softens.
What about the microwave?
I know, it is right there and it is tempting. The trouble is a microwave heats unevenly, so you get melted patches and greasy spots while other bits are still fridge-cold, and that mix is exactly what wrecks the creaming I described above. If you genuinely have no other option, do it carefully: use the lowest power setting, go in five to ten second bursts, and turn the butter over between each one. Stop the instant it gives to a gentle press. The moment any part looks shiny or starts to pool, you have overdone it, and for a creamed sponge that is hard to come back from. For almost any situation, cubing or grating is faster than fetching a plate and babysitting the microwave, and far more forgiving.
When you want it melted, not softened
Worth saying, because the recipe decides. Plenty of bakes call for melted butter rather than softened: many muffins, brownies, flapjacks and quick loaf cakes mix melted butter straight in, and there the goal is a dense, moist crumb, not an airy one. If that is your recipe, melt it low and slow and let it cool a little before it meets eggs, so it does not scramble them. Do not soften when the recipe says melt, or the other way round; they are not interchangeable, because they do different jobs.
And the reverse trap: some recipes want butter cold, not soft at all. Shortcrust pastry, flaky scones, rough puff and the like rely on solid flecks of cold butter staying separate until they hit the oven, where they melt and throw off steam to create the layers and the short, crumbly texture. If you soften the butter for those, you lose the whole effect. So before you warm anything, check which the recipe actually wants.
A note on leaving butter out
If you bake often, you might wonder whether you can just keep butter on the counter so it is always ready. You can, within reason. Salted butter in a covered dish is fairly happy at cool room temperature for a few days, because the salt holds bacteria back and butter is mostly fat with little water for them to grow in. Unsalted butter spoils faster and is better kept in the fridge and softened as needed. Either way, keep it covered and out of direct sun or a warm spot near the hob, and if it smells cheesy, sour or tastes rancid, it has turned and should go. I go into the full keeping times in how long does butter last.
Soften only what you need
One last habit that saves waste. Soften just the amount the recipe calls for, not the whole pack, because softened butter does not go back to its original firm state as nicely once it has been warmed, and repeatedly warming and chilling it is not doing it any favours. If you are scaling a recipe up or down and need to work out exactly how much that is, the recipe scaler does the sums, and the ingredient converter will turn cups or sticks into grams if your recipe came from across the Atlantic. And if you ever find yourself with butter you will not get through, it freezes beautifully, which I cover in can you freeze butter.
The bottom line
Cold butter is not the disaster it feels like when you are stood there wanting to bake. Grate it for two minutes, cube it for ten, or trap it under a warm glass, and aim for that modelling-clay softness that dents but does not sink. Keep it well clear of melting if you are creaming it for a sponge, respect the recipes that actually want butter cold or melted, and you will never let a forgotten block hold up a bake again. For more of the small baking fixes that get you out of a corner, my baking ingredient substitutions guide is the companion to this one.
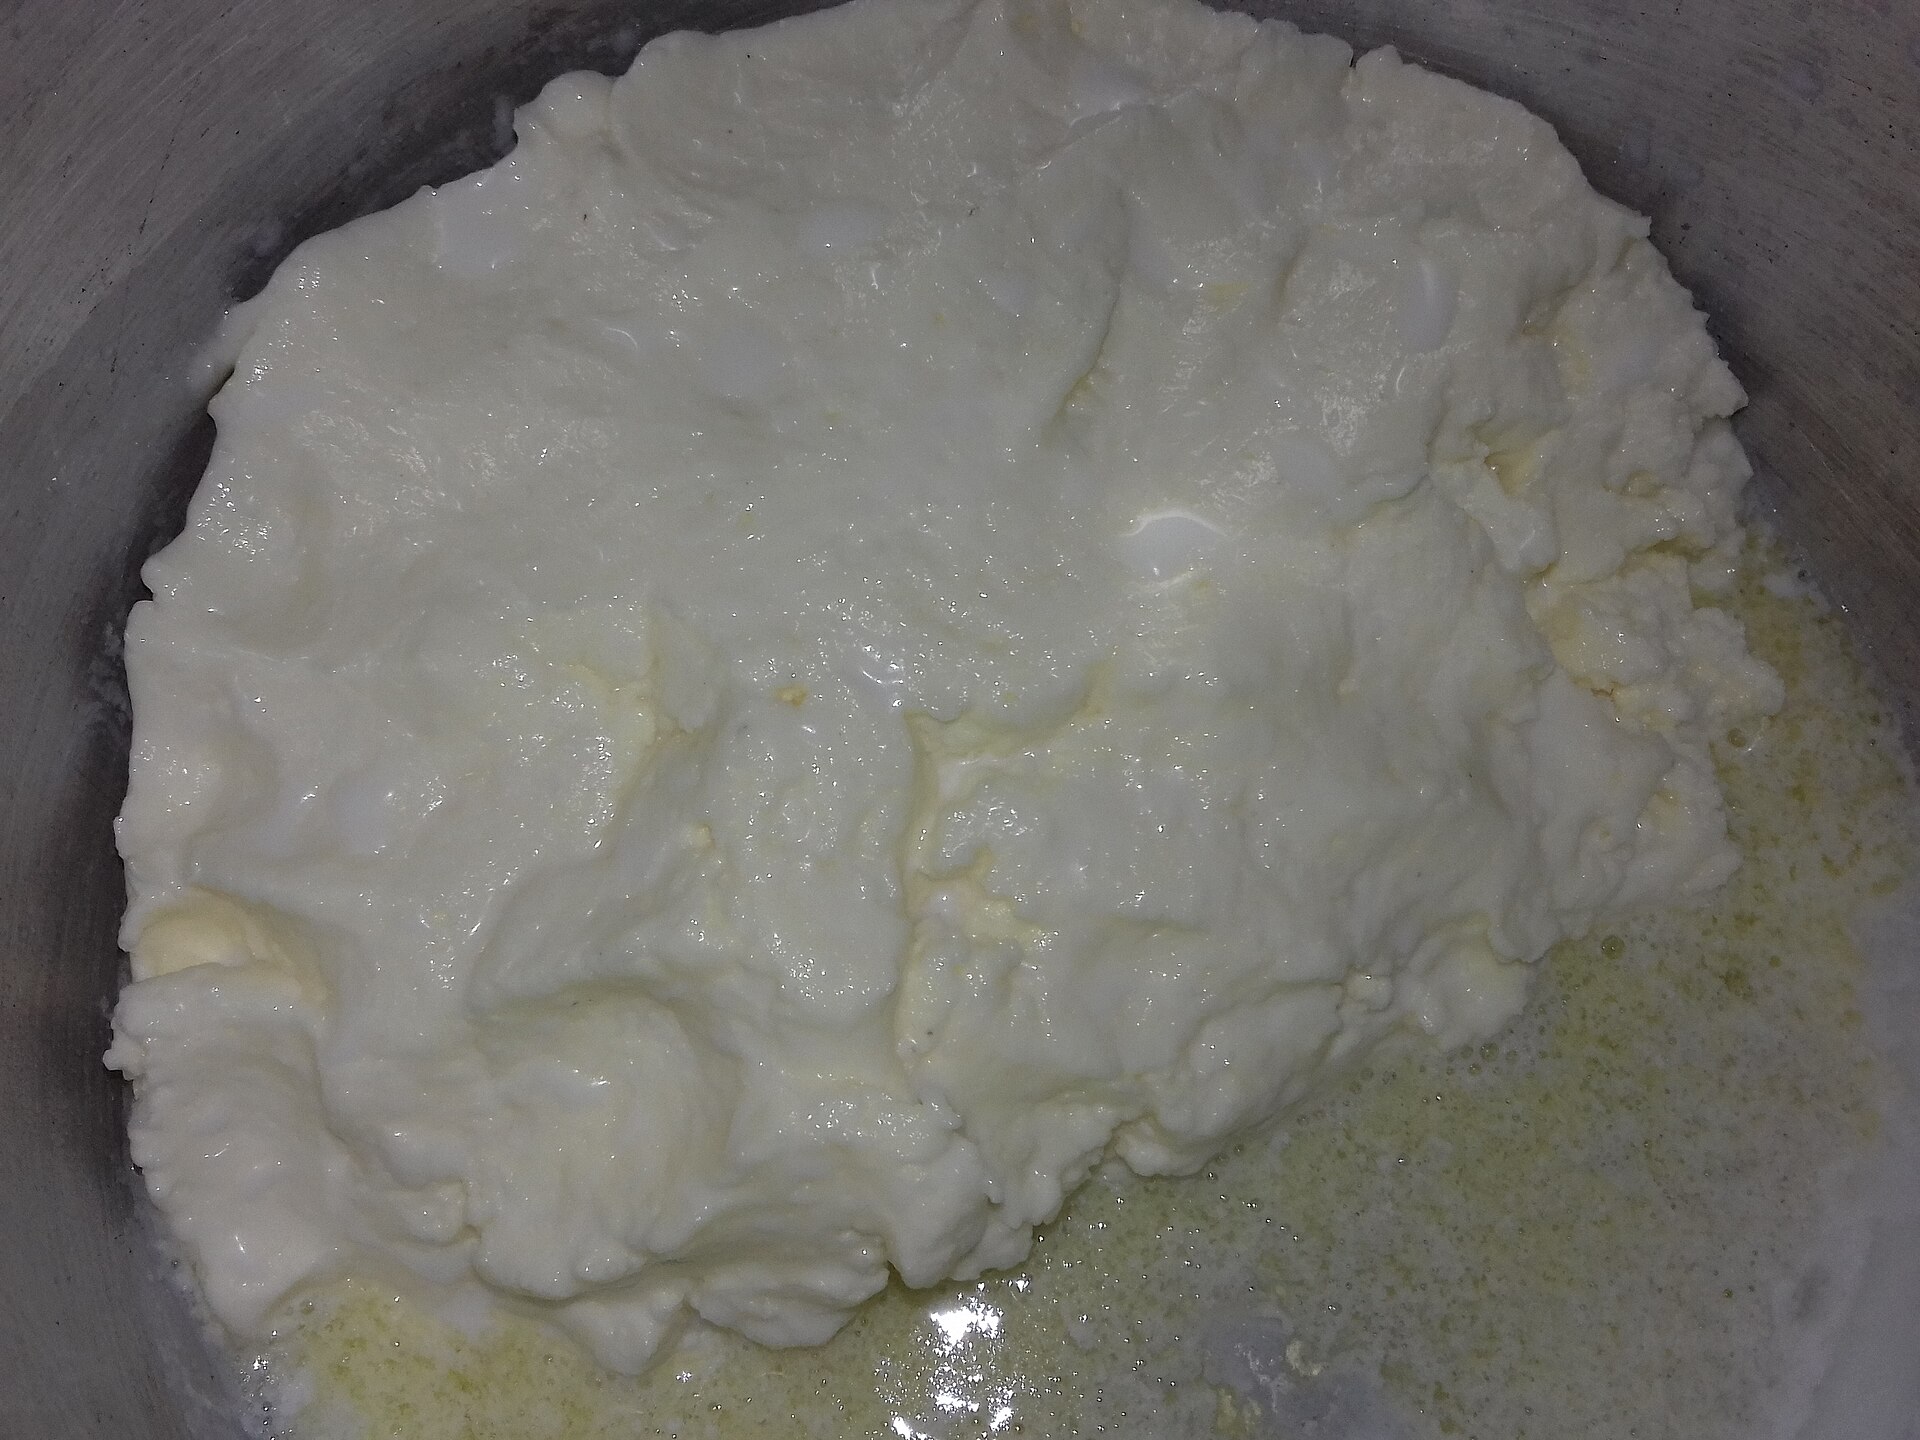
Cover photo: “Butter” by Chinmayee Mishra, CC BY-SA 4.0, via Wikimedia Commons.